
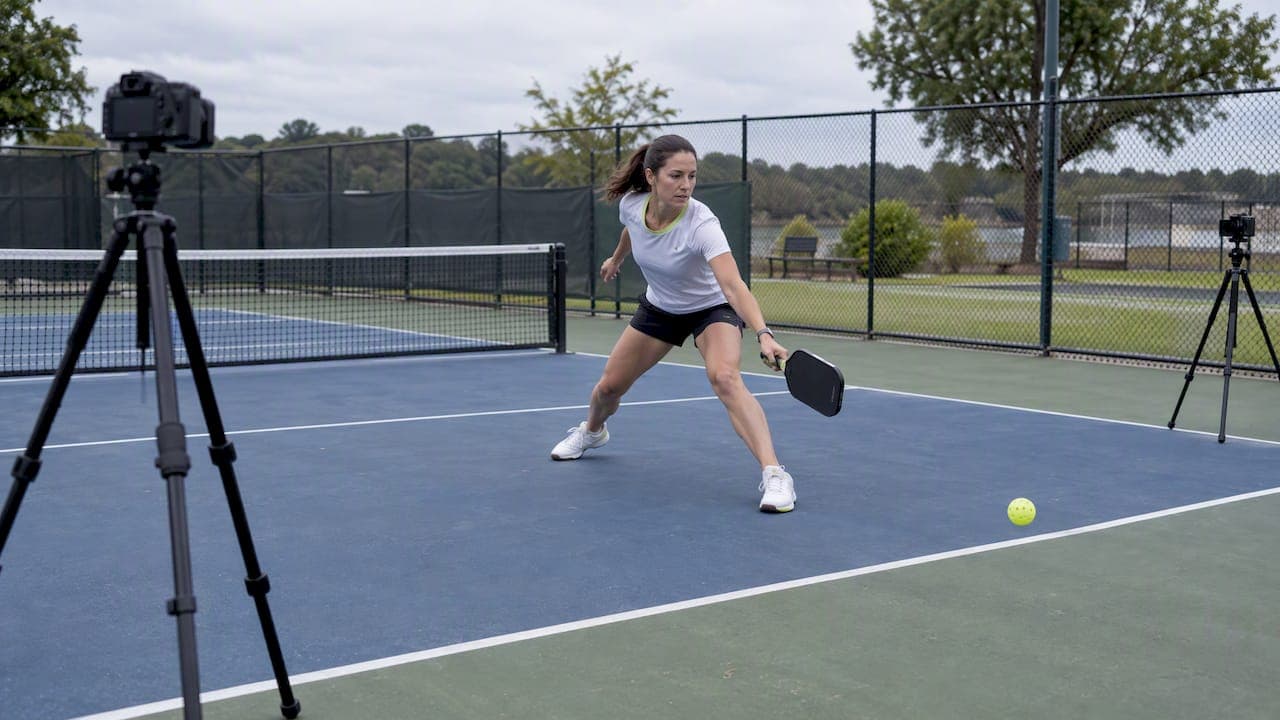
For reliable AI biomechanical analysis of pickleball movement, record two cameras placed about 30 to 45 degrees apart with the player's joints clearly framed, then run a 10 to 20 second test clip before filming the full session. Check that feet, hips, and shoulders appear in both views. If a joint disappears behind the net or a limb, reposition the cameras before you commit to a full recording.
TL;DR:
- Using two cameras placed at 30 to 45 degrees apart yields the best agreement with standard biomechanical measurements; wider angles above 90 degrees cause significant detection errors.
- Keep the cameras within 2 to 10 meters of the player and ensure their fields of view overlap for reliable joint detection during movement.
- Always perform calibration with a checkerboard and static T-pose before recording to ensure proper scaling and prevent clip exclusion.
- Avoid filming from behind the player or with cameras placed too far away, as these conditions reduce detection accuracy and increase the likelihood of missing key joints.
- A simple two-camera setup with proper overlap and calibration provides more accurate biomechanical data than a cluttered multiple-camera approach.
Table of Contents
- Recommended camera setups for two and three cameras
- A calibration and recording checklist before you film
- Why captures fail and how to fix them fast
- Getting the player and court ready for filming
- Checking footage and preparing it for upload
- What a season of court-side filming taught me
- Putting your footage to work with Play On Pickle
- Research and guides behind this filming approach
- Sources
- FAQ
Recommended camera setups for two and three cameras
The camera geometry you choose has more effect on data quality than almost any other filming decision. A validation study comparing camera placements against marker-based kinematics found that roughly 45 degree separation between two cameras produced the best agreement with gold-standard measurements, while very wide baselines beyond 90 degrees caused large errors because the cameras could no longer agree on where a joint sat in space, a problem researchers describe as a detection constraint.
For most recreational filming, a two-camera layout works well:
- Place both cameras at 30 to 45 degrees from the player's forward-facing line, near the sideline or baseline edge of the court.
- Keep their fields of view overlapping so the same capture volume, the three-dimensional space the player moves through, is visible to both lenses.
- Set camera height roughly at waist to shoulder level when the focus is lower-limb movement, like footwork or lunges.
- Raise the height when tracking shoulder rotation or overhead swings.
- Keep distance between 2 and 10 meters from the player, since joints shrink below reliable detection size at longer range, a range consistent with OpenCap's placement guidance.
Adding a third camera at a rear or diagonal position helps when a player moves laterally or rotates the upper body quickly, since a single pair of side cameras can lose sight of a hip or shoulder mid-turn. Favor sagittal-plane coverage (filming from the side) for forward and backward movement like lunges and splits, and frontal-plane coverage (filming from the front) when the movement is mostly side to side, such as a crossover step at the kitchen line.
A calibration and recording checklist before you film
Skipping calibration is the single most common reason a clip gets excluded later. OpenCap's published guidance calls for a printed checkerboard and a brief static pose before any movement is recorded, since the system uses both to scale the player's body correctly in three dimensions.
- Print a checkerboard pattern (an A4-size sheet works) and place it where every camera can see it clearly.
- Have the player hold a 5-second static T-pose or neutral stance so the model has a scaling reference.
- Set the frame rate to 60 frames per second if the drill involves fast actions like serves or smashes; 30 fps is the minimum, and resolution should be the highest your device supports without dropping frames.
- Dress the player in tight-fitting clothing in a color that contrasts with the court and background, avoiding loose skirts or long sleeves that hide joints.
- Check lighting for even coverage across the capture area and avoid filming directly into a bright backlight.
- Record a 10 to 20 second test clip of the actual drill, then review it on each device to confirm the feet, hips, and shoulders are visible in at least two camera views.
- Label files clearly by camera number and session, and include the calibration photo in the same upload batch.
Pro Tip: Run the static T-pose at the start of every session, even if you filmed the same player yesterday. Lighting and camera position shift more than people expect, and re-scaling takes ten seconds.
Why captures fail and how to fix them fast
Most unusable clips trace back to a handful of repeat offenders, and nearly all of them are fixable on the spot.
- A baseline wider than 90 degrees between cameras tends to produce missing keypoints, since neither camera agrees on the joint's position. Narrowing back to 30 to 45 degrees usually restores detection, consistent with findings on optimal camera separation.
- Occlusion from the net, another player, or the athlete's own limb blocks key joints. Changing camera height or lateral offset, or adding a third camera, usually clears the view.
- A camera placed too far away shrinks joints to a pixel size the model cannot reliably track. Move closer or raise resolution.
- Filming a player from behind as they move away from the camera increases error, since pose-estimation models rely on seeing front-facing landmarks. A systematic review of markerless motion capture found accuracy varies with movement complexity and camera configuration, and posterior-only views are among the weaker setups.
Getting the player and court ready for filming
Clothing and court conditions decide whether the joints a camera does capture are actually usable. A few habits make the biggest difference:
- Choose tight, non-reflective clothing with upper and lower body colors that contrast against the court surface.
- Pick shoes that stand out from the court color so feet remain visible for ankle and plantar analysis.
- Run the static pose, then film a short warm-up drill inside the same capture volume to confirm visibility before the real session starts.
- Clear moving background elements like other players or carts, and reposition cameras rather than shoot toward a glossy or reflective court surface.
Pro Tip: If the court surface is glossy under overhead lights, shift the camera angle slightly rather than fighting the glare with exposure settings.
Checking footage and preparing it for upload
Before uploading anything, run through a short pass or fail check on your own device.
- Visually confirm every key joint, feet, hips, shoulders, appears in at least two cameras during the movement window that matters most. Re-record if not.
- Confirm resolution and frame rate reasonably match the service's guidance, and bundle the calibration image with notes on where each camera stood.
- If the upload fails or flags occlusion, attach the short test clip alongside the full recording so the issue is easier to diagnose, a step that field validation research found reduces repeat failures tied to occlusion and syncing.
- Keep a local backup and label files with date, court, drill name, and camera index so you can troubleshoot later without guessing.
What a season of court-side filming taught me
I once set up two cameras nearly 100 degrees apart because I wanted "full coverage" of a player's serve. The resulting clip lost her front hip entirely in both views, and I had to reshoot. Pulling both cameras in to about 40 degrees fixed it in one take.
The lesson holds across every session since: a clean two-camera setup with real overlap almost always beats a cluttered three or four camera attempt where half the lenses never agree on what they see. Simpler is usually more accurate, not less.
— Drona
Putting your footage to work with Play On Pickle
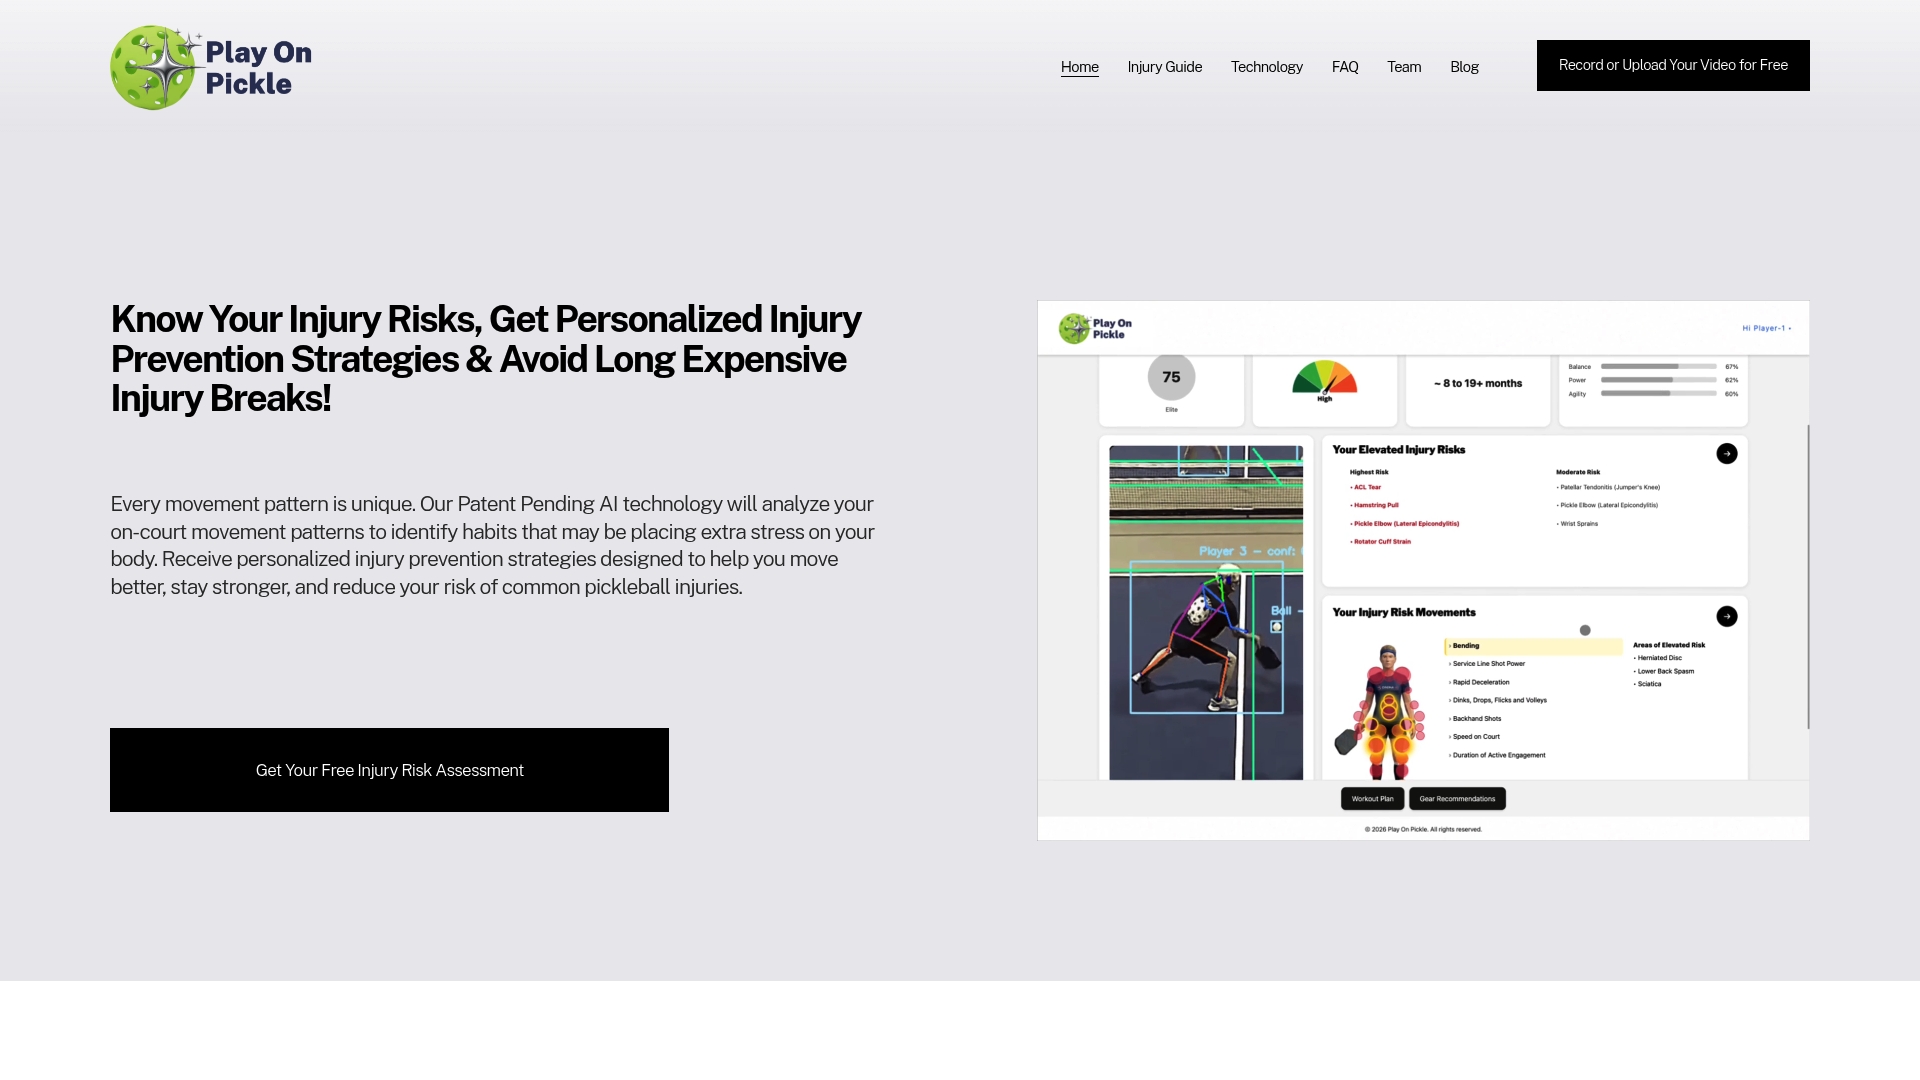
Play On Pickle accepts multi-angle uploads and runs them through its patented computer vision to flag biomechanical stress points before they turn into injuries. The footage you capture using the setup above is exactly what the system is built to read.
- Follow the calibration and recording checklist above to get the cleanest possible data from your first upload.
- New users get a free trial, and the free tripod offer pairs a tripod with the $9.99 monthly subscription to make a proper two-camera setup easier to build at home.
- Full plan details, including annual and monthly subscriptions, are listed on the pricing page.
Start your trial, film your next session with the two-camera layout above, and see what the analysis turns up.
Research and guides behind this filming approach
- The OpenCap validation paper covers calibration, camera placement, and capture distance in detail.
- A camera placement validation study documents why 30 to 45 degree baselines outperform wider ones.
- The systematic review on OpenCap accuracy explains where markerless systems are strong and where they still lag marker-based labs.
- Our own pickleball video analysis guide walks through how this footage feeds into injury-prevention recommendations, and pickleball participation trends show why accessible filming tools matter as the sport grows.
Sources
- Optimizing camera placement in multi-view markerless motion capture: a validation study against gold-standard kinematics
- OpenCap: Human movement dynamics from smartphone videos | PLOS Computational Biology
- Can OpenCap deliver valid and reliable kinematic data for motion analysis? A systematic review and three-level meta-analysis
- Validations and applications of markerless motion capture using OpenCap: a scoping review
FAQ
How many cameras do I need for pickleball movement analysis?
Two cameras placed 30 to 45 degrees apart cover most drills well, since this range balances depth triangulation with reliable joint detection. A third camera helps only when lateral movement or upper-body rotation regularly hides a joint from both original angles.
Can I use a smartphone instead of a dedicated camera?
Yes. Research using OpenCap has used two rear-facing phones positioned 30 to 45 degrees apart with a checkerboard calibration step and reported practical success for many field-based movement tasks.
Why do I need a checkerboard before filming?
A printed checkerboard, visible to every camera, lets the analysis software scale the player's body correctly in three-dimensional space. OpenCap's guidance treats this calibration step as a requirement, not an optional extra.
What happens if the net blocks a player's legs during a shot?
Occluded joints produce noticeably less reliable data than visible ones, since pose-estimation models have nothing to track once a limb disappears from view, as occlusion research on markerless capture has shown. Changing camera height or adding a third angle usually clears the view before you need a full reshoot.
Does Play On Pickle work with footage from a regular smartphone?
Yes, Play On Pickle accepts multi-angle smartphone footage and runs it through its own computer vision analysis to flag stress points, as long as the clip follows standard calibration and visibility practices like those in this guide.