
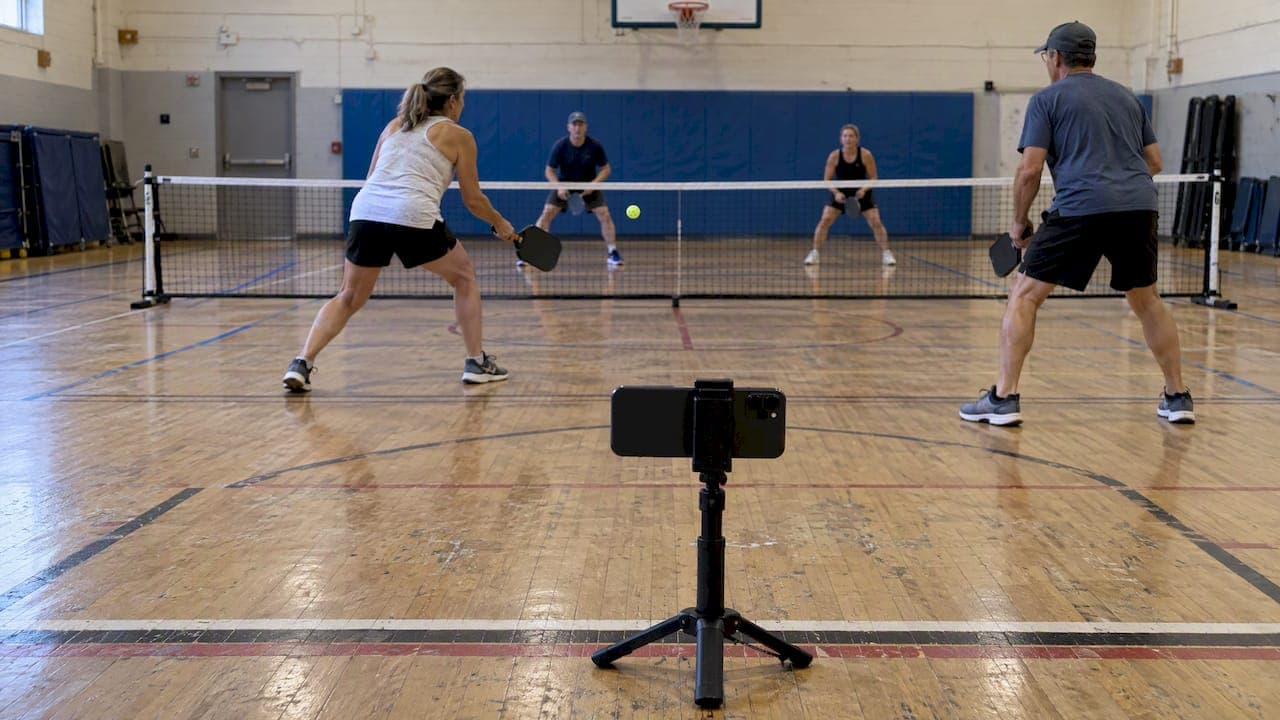
Mount your camera behind the baseline, centered, about 7 to 10 feet high, in landscape orientation, then lock the settings to 1080p at 60 frames per second before you lock the orientation itself. This single setup captures both baselines, both sidelines, and every player on court, which is exactly what you need whether you're reviewing footwork or sending a clip for later analysis.
TL;DR:
- Using a camera mounted behind the baseline at 7 to 10 feet high and locked to 1080p 60fps ensures full-court coverage without distortion.
- A smartphone is suitable for casual play but may overheat or run out of storage during long sessions; dedicated sports cameras handle continuous recording better but cost more.
- Position the camera to keep both sidelines and baselines in view with a horizontal field of view between 70 and 90 degrees, adjusting height and angle to prevent obstruction.
- Secure the mount with safety straps or sandbags to prevent shifting, and connect an external power bank for multi-hour recording sessions.
- Recording a short test clip, reviewing footage beforehand, and managing background distractions enhance video quality and facilitate effective analysis.
Table of Contents
- Quick start checklist before you hit record
- Phone, action camera, or dedicated sports camera: which one to use
- Where to place the camera for full-court framing
- Picking a mount that won't move or fall
- Getting your settings right before the first serve
- Recording yourself when you're also the one playing
- Turning raw footage into something useful
- Pre-record checklist and fixes for common problems
- Audio recording options and considerations
- Lighting conditions and how to optimize video quality
- Using multiple camera angles for enhanced footage
- Recommended apps or software for advanced video analysis
- Legal and privacy considerations when recording others
- Tips for minimizing distractions in the background during recording
- Why recording matters beyond highlight reels
- Turn your match footage into an injury prevention plan
- FAQ
- Sources
Quick start checklist before you hit record
Running through a short sequence before every match saves you from discovering a blank memory card at set point.
- Find a centered spot behind one baseline and set your mount height between 7 and 10 feet.
- Switch the camera to landscape, lock the orientation, and dial in your resolution and frame rate.
- Confirm your power source and storage, record a 10-second test clip, and turn on Do Not Disturb.
This routine takes about 2 to 3 minutes once you've done it a few times, and it catches the two most common failures: wrong orientation and dead batteries. The PickleTip video guide lists a similar field checklist, including cleaning the lens and confirming a backup strap before the first rally starts.
Phone, action camera, or dedicated sports camera: which one to use
Your phone is the cheapest and most convenient option, and for casual matches it usually works fine. The tradeoff is heat: phones can throttle or shut down during long outdoor sessions, especially in direct sun, and storage fills up fast at higher resolutions.
- Phones: No extra purchase needed, but battery and storage limits show up during tournament-length play.
- Action cameras: Compact, often weatherproof, and easy to mount, though wide lenses can introduce fish-eye distortion and battery life is shorter than a phone's.
- Dedicated sports cameras: Built for continuous operation and better heat handling, at a higher upfront cost than a phone or action camera.
- Accessories: A tripod or fence mount, a safety tether, an external power bank, a long USB-C cable, and a 256GB or larger SD card cover most multi-hour recording needs.
Pro Tip: Keep a spare SD card in your bag. Swapping a full card takes 20 seconds; realizing you're out of space mid-match does not.
Where to place the camera for full-court framing
Positioning matters more than the device you're using. Center the camera behind one baseline and raise it high enough that players don't block the frame as they move.
- Target a height of 7 to 10 feet and a distance of 8 to 15 feet back, depending on your lens.
- Aim for a horizontal field of view between 70 and 90 degrees to keep both sidelines and baselines in frame without distortion.
- If you're forced off-center by fencing or space, raise the camera higher or angle it back slightly to preserve the full court view.
Optimal horizontal field of view falls between 70 and 90 degrees, according to Pickleheads' recording guide, which also warns against lenses wider than 120 degrees because they introduce noticeable fish-eye distortion at the edges of the frame. Filming from behind the baseline also matches a broadcast-style perspective that makes footwork and spacing easier to judge, according to RacquetView's filming guide, while side angles are better suited to analyzing individual stroke mechanics than full-court play.
Picking a mount that won't move or fall
A great camera position means nothing if the mount shifts mid-match. Several options work well depending on your court setup.
- Fence mounts and fence-cap mounts: Quick to attach at public courts, no tripod legs to trip over.
- Magnet mounts: Useful on metal fencing or posts, though less secure on uneven surfaces.
- Telescoping tripods: Flexible height and placement, but need to sit outside the play area and stay weighted down.
Secure everything with safety straps, tether tripod legs, or add sandbags so wind or an errant ball doesn't knock the rig over. Keep tripods clear of the court itself; a stray paddle swing near a leg is an avoidable disaster.
Pro Tip: Run your power cable along the fence line, not across a walkway, and tape down any slack so nobody catches a foot on it between points.
For multi-hour sessions, connect an external power bank with a USB-C cable rather than relying on your device's internal battery. George Murphy's guide to shooting pickleball video notes that external power can support continuous recording for 8 or more hours depending on battery capacity and camera compatibility, which turns your setup into something you can genuinely forget about once it's running.
Getting your settings right before the first serve
Default to 1080p at 60 frames per second for most matches. It balances smooth motion with file sizes your phone or card can actually handle over a full match. Save 4K for devices you've confirmed can record an entire session without overheating or running out of storage, since the higher resolution eats both much faster.
- Lock focus and exposure near the center of the court so the picture doesn't hunt for a new subject every time a player moves.
- Disable auto-rotate and turn on Do Not Disturb so a text notification doesn't interrupt or flip your recording.
- Carry large SD cards, or plan to offload files between sessions if you're recording several matches in a row.
- Record a short test clip and watch it back before the match starts, checking framing, focus, and audio.
PickleTip recommends starting with 1080p at 60 fps for exactly this reason: it's the setting most devices can sustain for a full match without thermal or storage issues.
Recording yourself when you're also the one playing
Self-recording takes a bit more planning since you can't babysit the camera between points.
- Start recording before warmups and let it run through the entire session rather than stopping and starting.
- Before play begins, step in front of the camera and state your name, your clothing, and which side you'll be playing, so footage is easy to sort later.
- Use an app that saves the last several seconds of footage on command, or a simple clicker, if you only want highlight clips rather than full continuous video.
- If a teammate or club volunteer is nearby, ask them to flag key rallies in a quick match log or tap save at key moments while the camera stays stationary.
Continuous recording is the safer default if you're unsure which rallies matter yet. You can always trim later.
Turning raw footage into something useful
Once you've got footage, a quick edit makes it far more useful for sharing or review.
- Trim dead time between points using a phone editing app or a desktop tool, then export just the rallies worth keeping.
- Add a scoreboard overlay if you're sharing highlights with teammates or on social media.
- Use rally-trimming or automated analysis tools to strip out downtime and surface tactical or movement patterns faster than scrubbing through raw video by hand.
- Decide upfront whether your coach or analysis platform wants full match video or clipped rallies, since the two formats serve different purposes.
Automated tools can cut review time dramatically: practitioners report reviewing roughly an hour of court time in about 10 minutes using automated pickleball analytics tools, which makes a real difference if you're recording multiple matches a week.
Pre-record checklist and fixes for common problems
A short pass through this list before every session catches most of the failures that ruin footage.
- Clean the lens and check the mount is tight.
- Confirm orientation is locked and landscape is selected.
- Record and review a 10-second test clip.
- Check battery level or external power connection.
- Confirm available storage on your card or device.
| Problem | Quick fix |
|---|---|
| Device overheating | Move out of direct sun, remove the case, or switch to a lower resolution |
| Mount loosening mid-match | Add a safety strap or sandbag before the next game |
| View obstructed by a player or post | Raise the mount height or shift a few feet laterally |
| Storage running low | Offload footage between matches or carry a spare card |
Direct sunlight and high heat raise the risk of a phone overheating mid-recording, so positioning your rig in shade when possible helps more than any software setting, according to Rally for Charity's operational tips. It's also worth a quick, polite heads-up to opponents or teammates that you're recording, especially at a public court where others might end up in frame.
Audio recording options and considerations
Most court recordings rely on the camera's built-in microphone, which is fine for general review but picks up wind, nearby courts, and conversation along with the gameplay. If you want cleaner audio, mainly for coaching commentary or sharing clips, an external microphone clipped near the mount or a small shotgun mic aimed at the court improves clarity noticeably over a built-in mic buried inside a phone case.
For most players, audio is secondary to the visual record. If you're reviewing footwork or shot selection, you don't need to hear anything beyond the paddle contact and the score call. Skip the extra gear unless you're producing content for others to watch, in which case clear audio of coaching notes or rally commentary adds real value.
One practical consideration: wind noise at outdoor courts can overwhelm a built-in mic, especially with a phone mounted higher up and more exposed. A simple foam windscreen on an external mic, or positioning the device slightly out of direct wind, cuts down on that interference. If you're recording multiple courts at a facility, keep in mind that nearby games will bleed into your audio regardless of mic quality, so don't expect isolated commentary unless you're using a directional microphone pointed specifically at your court.

Lighting conditions and how to optimize video quality
Outdoor pickleball courts create two common lighting problems: harsh midday sun that blows out highlights and creates deep shadows, and early morning or evening light that comes in low and direct, which can wash out your footage if the camera faces into it.
Position your camera so the sun is behind or to the side of the lens rather than facing into it. Shooting into direct sunlight silhouettes the players and makes it nearly impossible to judge footwork or paddle position afterward. If you have a choice of baseline, pick the one that keeps the sun at your back for most of the match.
Indoor courts bring a different challenge: gym lighting is often dimmer and more uneven than outdoor sun, which can introduce grain or motion blur at higher frame rates. If your footage looks grainy indoors, try dropping to 30 fps rather than 60, since the camera will have more light per frame to work with.

Cloudy or overcast days are actually ideal for consistent footage: the light is even across the court with no harsh shadows or glare. If you're recording for tactical or movement analysis rather than highlight reels, overcast conditions tend to produce the clearest, most consistent video you can work with.
Using multiple camera angles for enhanced footage
A single baseline camera covers full-court tactics and footwork, but it won't catch everything. If you have a second device and a mount, adding a side angle near the net post captures stroke mechanics and paddle contact in a way that a baseline shot simply can't, since you're looking at the swing from the side rather than head-on.
Two cameras also give you flexibility in editing: cut between the full-court view for rally context and the side angle for a close look at a specific shot. This matters more for players working on technique than for those mainly reviewing positioning and shot selection.
The tradeoff is setup time and equipment. A second mount, a second device, and a second power source double your pre-match checklist, and syncing two video files afterward takes extra editing steps unless your software handles it automatically. For most recreational players, one well-placed baseline camera covers the vast majority of use cases. Reserve the second angle for specific technique work or when you're recording a clinic or lesson where stroke mechanics are the whole point.
Recommended apps or software for advanced video analysis
Once you've got footage, a few categories of apps make it more useful. Scoreboard overlay apps like Pickle Score Video let you add a live score to your footage without any editing background, which helps when sharing clips with teammates or posting highlights.
Save-the-last-N-seconds apps work well if you only want highlight clips rather than full match footage: tap a button after a great rally and the app saves the preceding stretch of video automatically, skipping the need to record and trim an entire match.
For deeper analysis, automated tools can scan footage for tactical patterns or movement data far faster than manual review. We cover how uploaded video reveals biomechanical and tactical insights in more detail if you're looking to go beyond basic editing. If you play in a league or club setting, platforms like FlexLeague+ can help organize and share footage alongside scheduling and standings, which is useful if multiple courts are recording simultaneously at a tournament.
Legal and privacy considerations when recording others
Recording at a public court generally falls under reasonable expectations of being filmed during open play, but rules vary by facility and location, and some private clubs post their own policies on recording. Check posted signage or ask facility staff if you're unsure whether recording is permitted at a given location.
A simple courtesy goes a long way regardless of the legal baseline: let your opponents and any nearby players know you're recording before the match starts. Most players don't mind, especially at courts where filming is common, but a quick heads-up avoids awkward conversations later if someone notices the camera mid-match.
If you plan to share footage publicly, whether on social media or a coaching platform, consider whether other recognizable players appear in frame and whether they're comfortable with that. This matters more for content you're posting publicly than for footage you're reviewing privately for your own training.
Tips for minimizing distractions in the background during recording
Busy courts come with background clutter: other matches, foot traffic, parked cars, and bright signage can all pull attention away from the gameplay you're trying to capture. A few adjustments help keep the focus where it belongs.
Choose a baseline that backs onto a fence, hedge, or plain wall rather than a parking lot or a row of other active courts. If you have a choice of court within a facility, an end court often gives you a cleaner background than one sandwiched between two others.
Time your recording for quieter periods when possible. Early morning or weekday sessions tend to have less foot traffic and fewer overlapping matches than weekend peak hours, which keeps your frame cleaner and your audio less cluttered with noise from adjacent courts.
Why recording matters beyond highlight reels
Video shortens the gap between making a mistake and noticing it. A coach or training partner can spot footwork issues on screen that are nearly invisible in real time, and the same footage can reveal movement patterns and stress points that don't show up until you slow the tape down. That's the gap between feeling fine during a match and finding out, on review, where your body is actually absorbing load.
— Drona
Turn your match footage into an injury prevention plan
Once you've got clean, baseline-angle footage, Play On Pickle turns it into something more useful than a highlight reel: an analysis of your movement patterns and the stress points showing up in your joints and footwork. 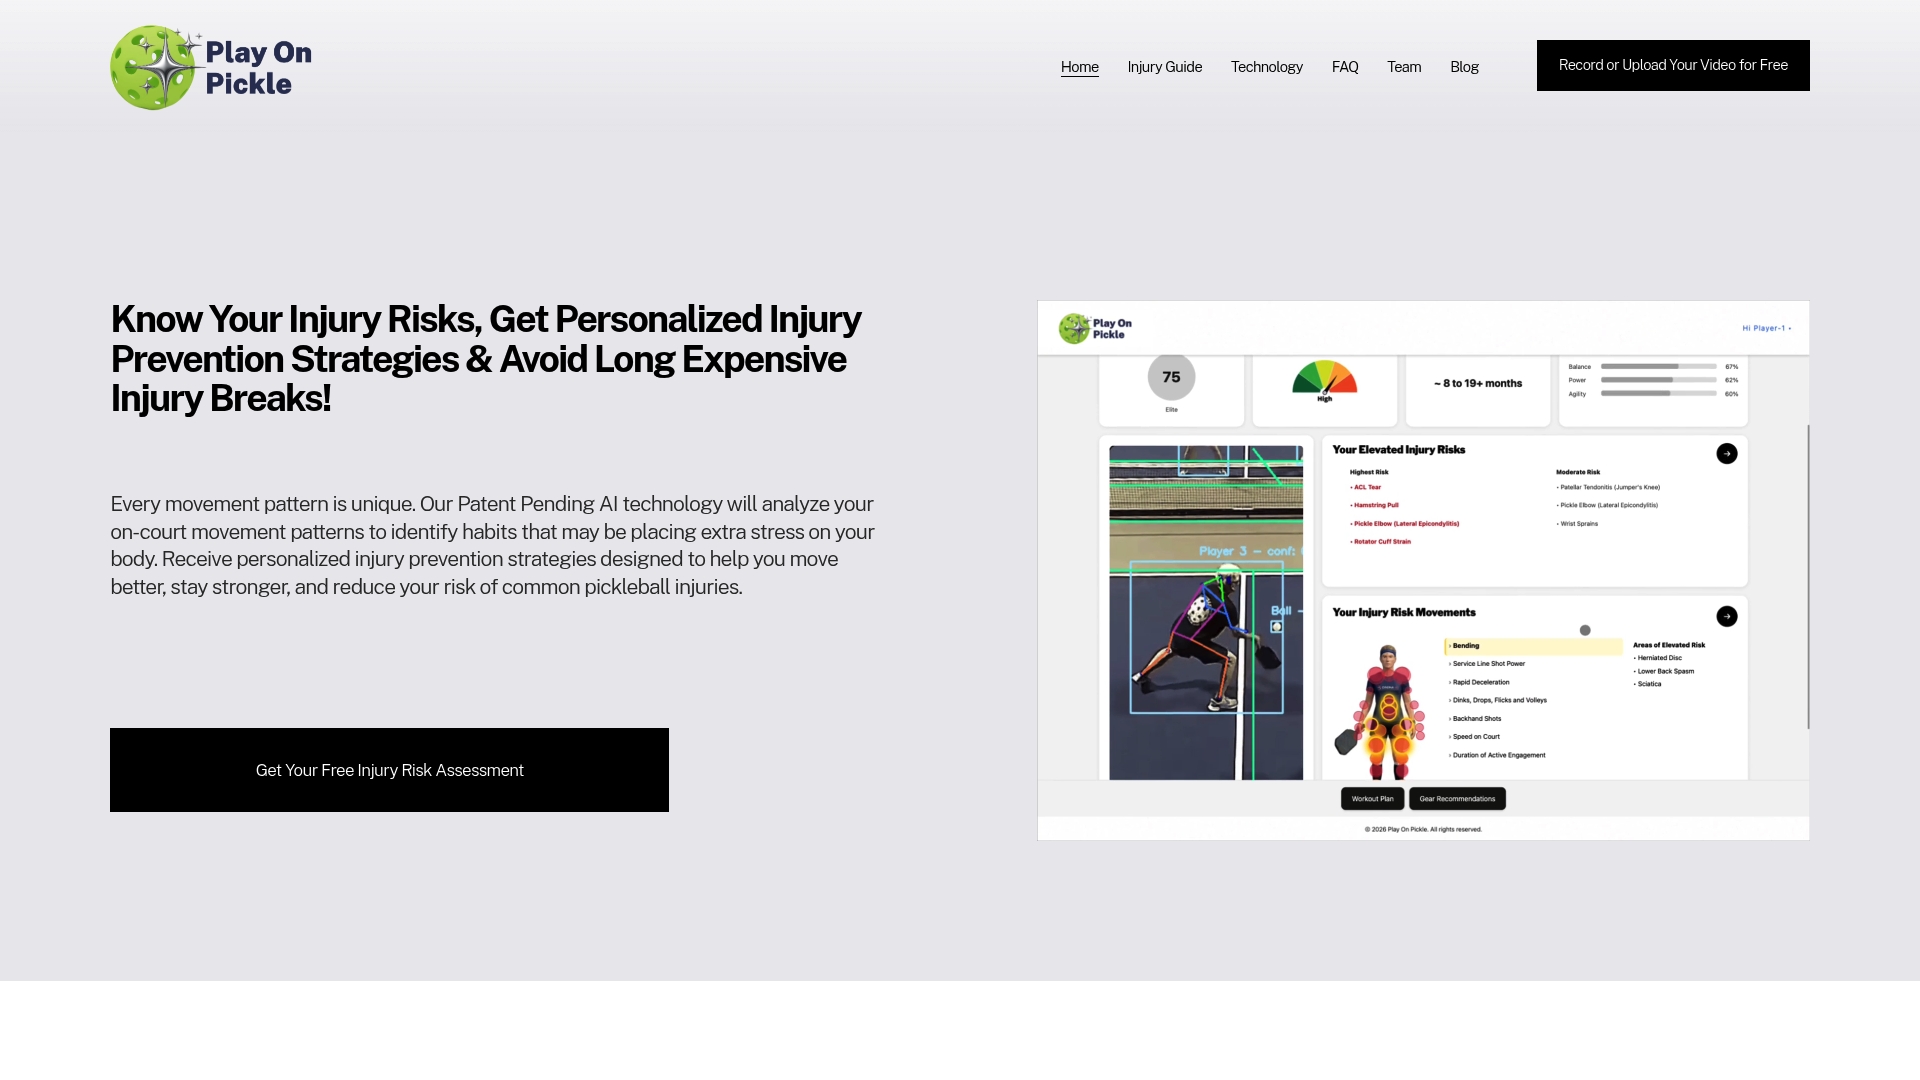
New subscribers get a free tripod with the $9.99 monthly subscription plan, which solves the mounting question before you've even recorded your first clip. Upload a match, and our monthly or annual plans unlock the full movement breakdown and a set of exercises built around what your footage actually shows.
FAQ
What is the world record for pickleball?
Pickleball world records cover a range of categories, from the longest rally to most players in a single game, tracked by organizations like Guinness World Records rather than a single governing body. There's no single definitive "pickleball world record," so the answer depends on which category you're asking about.
What camera is best for recording pickleball?
A smartphone works well for most recreational players and costs nothing extra if you already own one, though it can overheat during long sessions in direct sun. For frequent or tournament-length recording, a dedicated sports camera with a 70 to 90 degree field of view and reliable continuous recording handles heat and storage better than a phone or action camera.
How do I record a video while I'm playing a game?
Mount your camera on a stationary tripod or fence mount behind the baseline before the match starts, then let it run continuously rather than trying to operate it mid-point. State your name and what you're wearing on camera before play begins so the footage is easy to identify later, and consider asking a teammate to flag key rallies if you want to find highlights quickly afterward.
What app can I use to record pickleball games?
Your phone's native camera app works for straightforward full-match recording at 1080p and 60 fps. Apps like Pickle Score Video add scoreboard overlays, while save-the-last-N-seconds style apps capture highlight clips on command without recording the entire match.
Sources
- Recording Pickleball Video — PickleTip
- How to record your pickleball game — Pickleheads
- Shooting Pickleball Video — George Murphy
- Automate pickleball analytics — Roboflow blog