
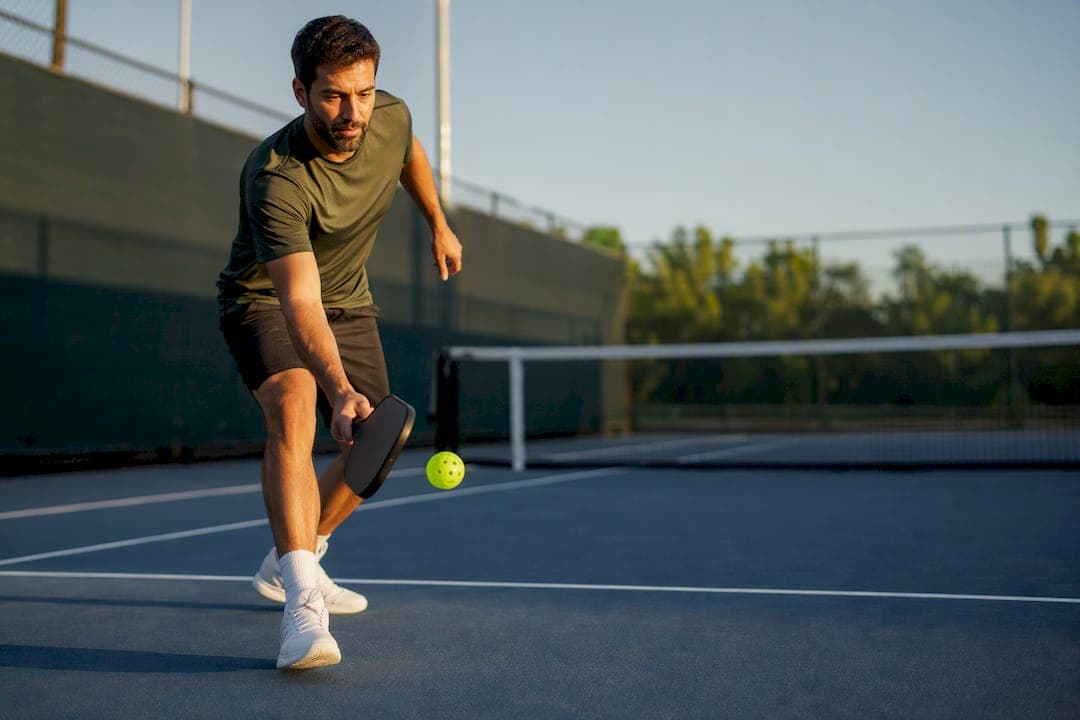
A biomechanically safe serve starts from the ground up, not the shoulder down: leg drive and hip rotation initiate the motion, the torso unwinds ahead of the arm, and contact happens in front of the lead hip with a full follow-through. If you correct one thing first, correct this: stop swinging with your arm before your hips have turned. That single fix removes most of the excess load that leads to shoulder and elbow injuries. Everything else, including warm-up and prehab work, exists to make that fix stick.
TL;DR:
- The safest serve emphasizes hip rotation and ground-up force transfer, avoiding arm-only motion and ensuring contact occurs in front of the lead hip.
- Common injuries stem from faulty sequencing, such as arm-only swings, late contact, or poor hip rotation, leading to rotator cuff issues or elbow overuse.
- A short warm-up and targeted prehab exercises focus on rotator cuff strength, core stability, and lower-body resilience to prevent overuse injuries.
- Retraining proper serve mechanics involves slow, repeated drills focusing on hip opening and wrist lag, progressing gradually to full-speed practice.
- Video analysis and personalized correction tools like AI assessments help detect intricate faults invisible to feel alone, reducing injury risk.
Table of Contents
- How Should a Safe Pickleball Serve Actually Move?
- Common Mechanical Breakdowns and the Injuries They Cause
- Warm-Up and Prehab Exercises to Protect Your Shoulder, Core, and Hips
- Drills to Retrain Safe Serve Sequencing
- Monitoring Progress and Knowing When to Get Help
- Why Sequencing Beats Quick Fixes
- How Playonpickle Makes Your Serve Safer, Not Just Stronger
- Sources
How Should a Safe Pickleball Serve Actually Move?
The safest serve follows a chain, not a single motion. Force builds from the ground and travels upward: ground push, hip rotation, torso unwind, a slightly delayed arm swing, wrist lag, contact, then a complete follow-through. Skip a link, and the arm ends up doing work the legs and core were supposed to handle.
Start with stance. A closed or staggered position, with roughly 60% of your weight on the back foot, and a slight bend in both knees, sets your hips up to rotate instead of just sliding forward. That rotation is what generates power without asking your shoulder to do it alone. Locked knees or a square stance take the hips out of the equation entirely, and the arm compensates.
Once the toss goes up, the back foot pushes into the ground first. That push drives hip rotation, which pulls the torso around, which finally releases the arm. The wrist should lag slightly behind the forearm through this sequence. It's the same principle a pitcher or a tennis server uses: whip comes last, not first.
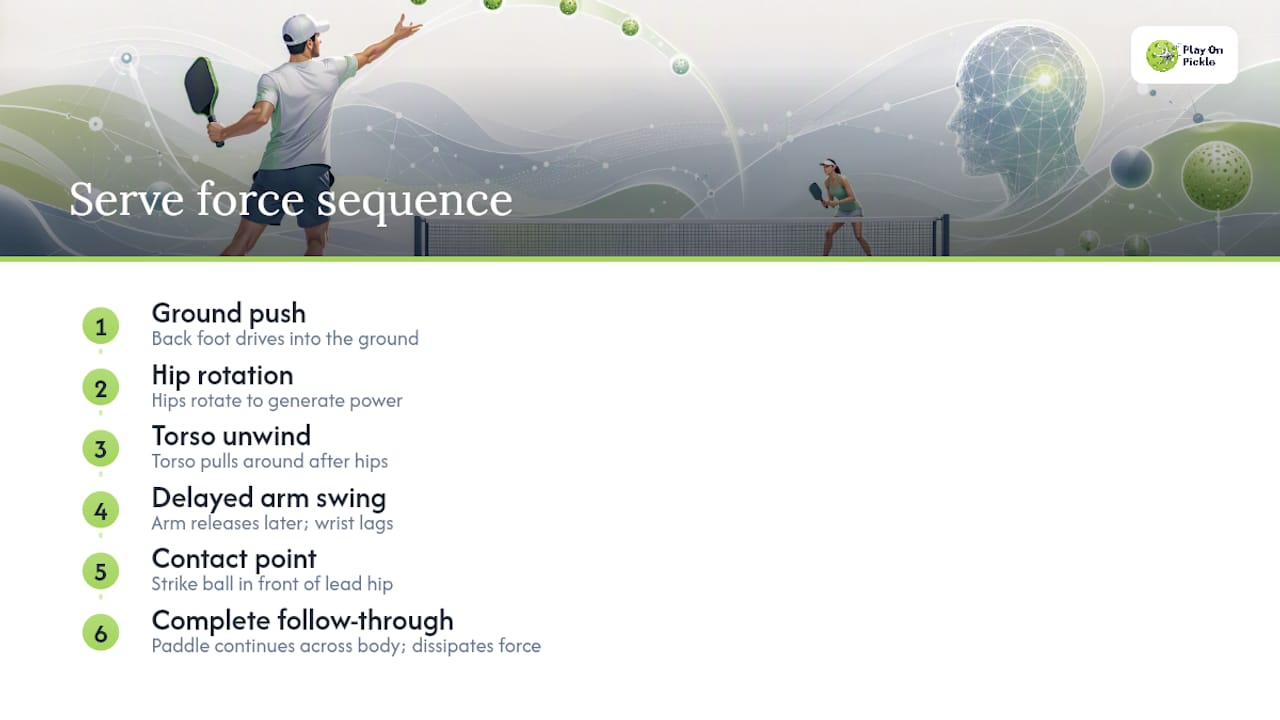
Contact point matters more than most players realize. Striking the ball in front of your lead hip, rather than out to the side or behind your body, keeps the shoulder in a stable, mid-range position instead of an extended, vulnerable one. After contact, let the paddle continue through its natural arc across your body. A serve that stops dead at contact, or one where the arm decelerates abruptly, sends that leftover force straight into the elbow and shoulder joints instead of dissipating it through rotation.
Research on stroke-level impact shows the serve itself produces a mean impact acceleration of just 5.0 m/s², well below the forehand, backhand, and smash. That's good news: the serve isn't inherently dangerous. The risk comes almost entirely from how it's executed.
Common Mechanical Breakdowns and the Injuries They Cause
The single most common fault among recreational players is what coaches call arm-only serving. You can spot it easily: minimal hip turn, knees locked at contact, and the swing starting from the shoulder instead of the ground. Practitioner observations tracking amateur versus pro mechanics consistently flag this as the primary fault driving overuse injuries in club-level players.
Each variation on that fault creates its own specific stress pattern. An early arm swing, where the arm fires before the hips finish rotating, forces the rotator cuff to decelerate the paddle almost by itself. Contact taken late or behind the body extends the shoulder into a position with little structural support. A truncated follow-through, common in players trying to control placement by "steering" the paddle, stops the arm abruptly and transfers force into the elbow. Excessive forward lean shifts load onto the low back, and locked knees remove the shock absorption your legs are supposed to provide.
The injuries that follow are predictable. Arm-dominant sequencing shows up as rotator cuff tendinopathy and shoulder impingement, often preceded by scapular dyskinesis you can't feel but can see on video. Repetitive wrist snapping without proper forearm support tends to produce lateral epicondylitis, better known as tennis elbow (or, among players, pickle elbow). Excessive lean and poor hip rotation together strain the low back over time.
Warm-Up and Prehab Exercises to Protect Your Shoulder, Core, and Hips
A five-minute dynamic warm-up before you serve a single ball does more for injury prevention than almost anything else you can do. AARP's recommended routine, built with input from coaches and players, covers the bases in order:
- Marching in place or light jogging for 60 to 90 seconds to raise your heart rate.
- Trunk rotations, standing, arms out, twisting side to side for 30 to 45 seconds.
- Arm circles, small to large, forward and backward, 20 seconds each direction.
- Leg swings, front to back and side to side, 10 per leg.
- Light body weight squats, 10 to 15 reps, to wake up the hips and knees.
That's your pre-play routine. The bigger project is a weekly prehab plan that builds the tissue resilience to handle repeated serving over months, not just one session. A clinical review of common pickleball injuries points to eccentric rotator cuff strengthening, core stabilization, and lower-extremity work as the core of effective prevention and rehab.
A realistic twice-or-three-times-weekly routine looks like this: slow eccentric external rotation with a light resistance band, 2 sets of 12; a Y-T-W-L scapular sequence using light dumbbells or bands, 2 sets of 10 per position; glute bridges, 3 sets of 15; dead bugs, 2 sets of 10 per side; and banded clamshells, 2 sets of 15 per side. Add resistance gradually, roughly 10% every one to two weeks, never all at once.
Pro Tip: If you're over 50 or coming back from a layoff, cut the volume in half for the first two weeks and focus entirely on form. Strength returns faster than tendon tolerance does, and rushing the load is how a "just a little sore" shoulder turns into a six-week layoff.
For a longer-form version of this routine, Playonpickle's injury prevention guide breaks down progressions by age and experience level.
Drills to Retrain Safe Serve Sequencing
Fixing your sequencing takes repetition without added stress, which means separating the motor pattern from full-speed serving until it's automatic.
Start with the dry swing. No ball, no paddle if needed at first: just the motion. Cue yourself to feel the back foot push before the arm moves at all. Two checkpoints to watch for: does your front hip open before your shoulder does, and does your back foot rotate onto the toe by the time your arm swings forward? If either answer is no, slow down and repeat.
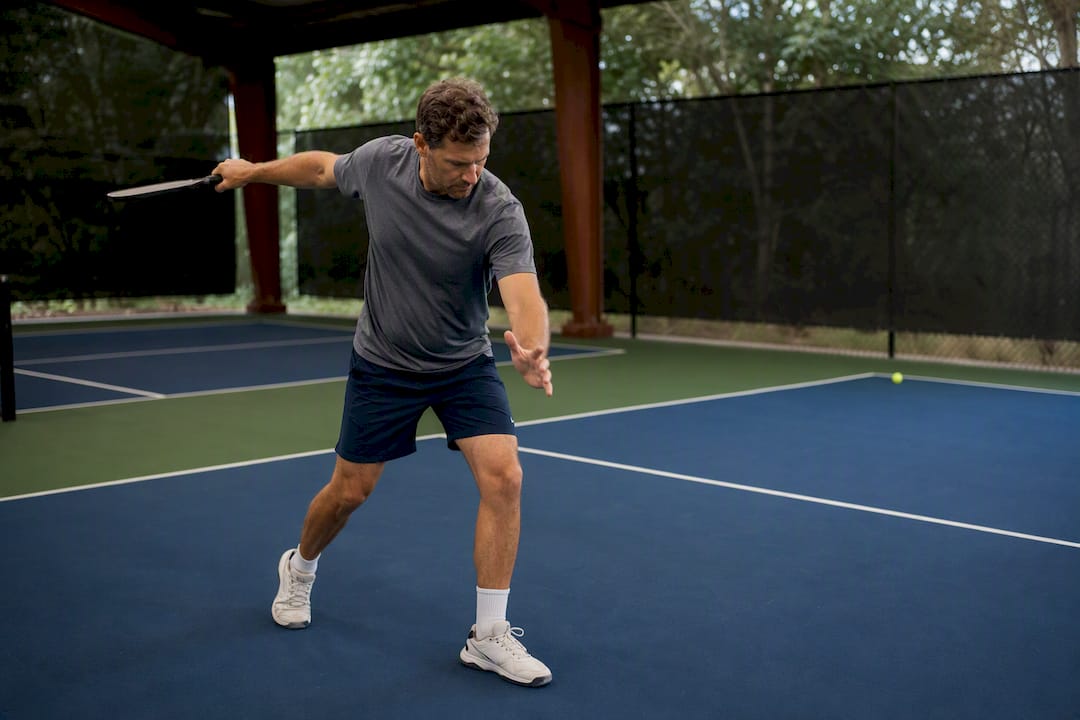
Next comes the wrist-lag throw. Grab a ball and mimic the serving motion as an actual throw, focusing on letting the wrist trail behind the elbow until the last moment. Ten throws per set, two sets, is enough to teach the whip feeling without overloading the joint.
Once the pattern feels natural, move to paddle work at reduced intensity. Practitioner guidance on retraining mechanics recommends serving at 60 to 70% effort in blocks of 10, checking sequencing after each block before adding intensity. A sample session:
- 10 flat power serves at 60 to 70% effort, focused purely on sequencing.
- 10 topspin-modified serves, same effort level, checking wrist lag.
- 10 target serves at full control speed, checking contact point and follow-through.
Structure this across a week: two sequencing-focused sessions early on, then a third session where you gradually increase to game speed only after both checkpoints hold consistently across all 30 reps. Don't reintroduce full-effort match serving until you can hit those checkpoints without thinking about them. A structured plan like the one in Playonpickle's 90-day training guide or a drill-structure resource like King of the Court format guides can help you build these blocks into regular practice sessions.
Monitoring Progress and Knowing When to Get Help
Track how your body responds over the 48 to 72 hours after serving sessions, not just during them. That window is when overuse soreness typically shows up if something in your mechanics is still off.
Watch for these signals:
- Pain that lingers past 72 hours or gets worse with each session, rather than easing.
- Noticeable strength loss when lifting your arm overhead or reaching behind your back.
- Reduced range of motion in the shoulder compared to two weeks ago.
- Serve consistency dropping off for no obvious reason, which often signals compensation for discomfort.
- Sharp, localized pain, numbness, tingling, or any neurologic symptom, all of which warrant a clinician visit, not a wait-and-see approach.
If your mechanics look fine to you but something still feels off, that's usually because certain faults, especially scapular dyskinesis and small sequencing delays, are nearly impossible to catch by feel alone. Video movement analysis catches them. Playonpickle's AI video analysis reviews your serve frame by frame, flags where your sequencing breaks down, and builds a personalized correction plan around what it finds, rather than a generic drill list.
Why Sequencing Beats Quick Fixes
Most advice on serving power skips straight to grip changes or paddle upgrades, which treats the symptom, not the cause. Sequencing is the cause. Get the hips and legs leading the motion, and the arm stops absorbing force it was never built to handle. That's a harder sell than a quick tip, but it's the one that actually holds up over a full season.
Personalized feedback shortens that path considerably. A generic drill sheet tells you what to do; movement analysis tells you what your body is actually doing wrong, which is rarely what you'd guess on your own. Playonpickle built its AI-driven assessment around exactly that gap, using computer vision to catch stress points before they turn into pain, and it's the reasoning behind every recommendation in this piece.
— Drona
How Playonpickle Makes Your Serve Safer, Not Just Stronger
A dry-swing drill or a video someone films on their phone can catch obvious faults. What it can't catch reliably is scapular dyskinesis, subtle sequencing delays, or asymmetries between your dominant and non-dominant side, the exact issues that turn into rotator cuff tendinopathy or pickle elbow months down the line. Playonpickle exists for that gap.
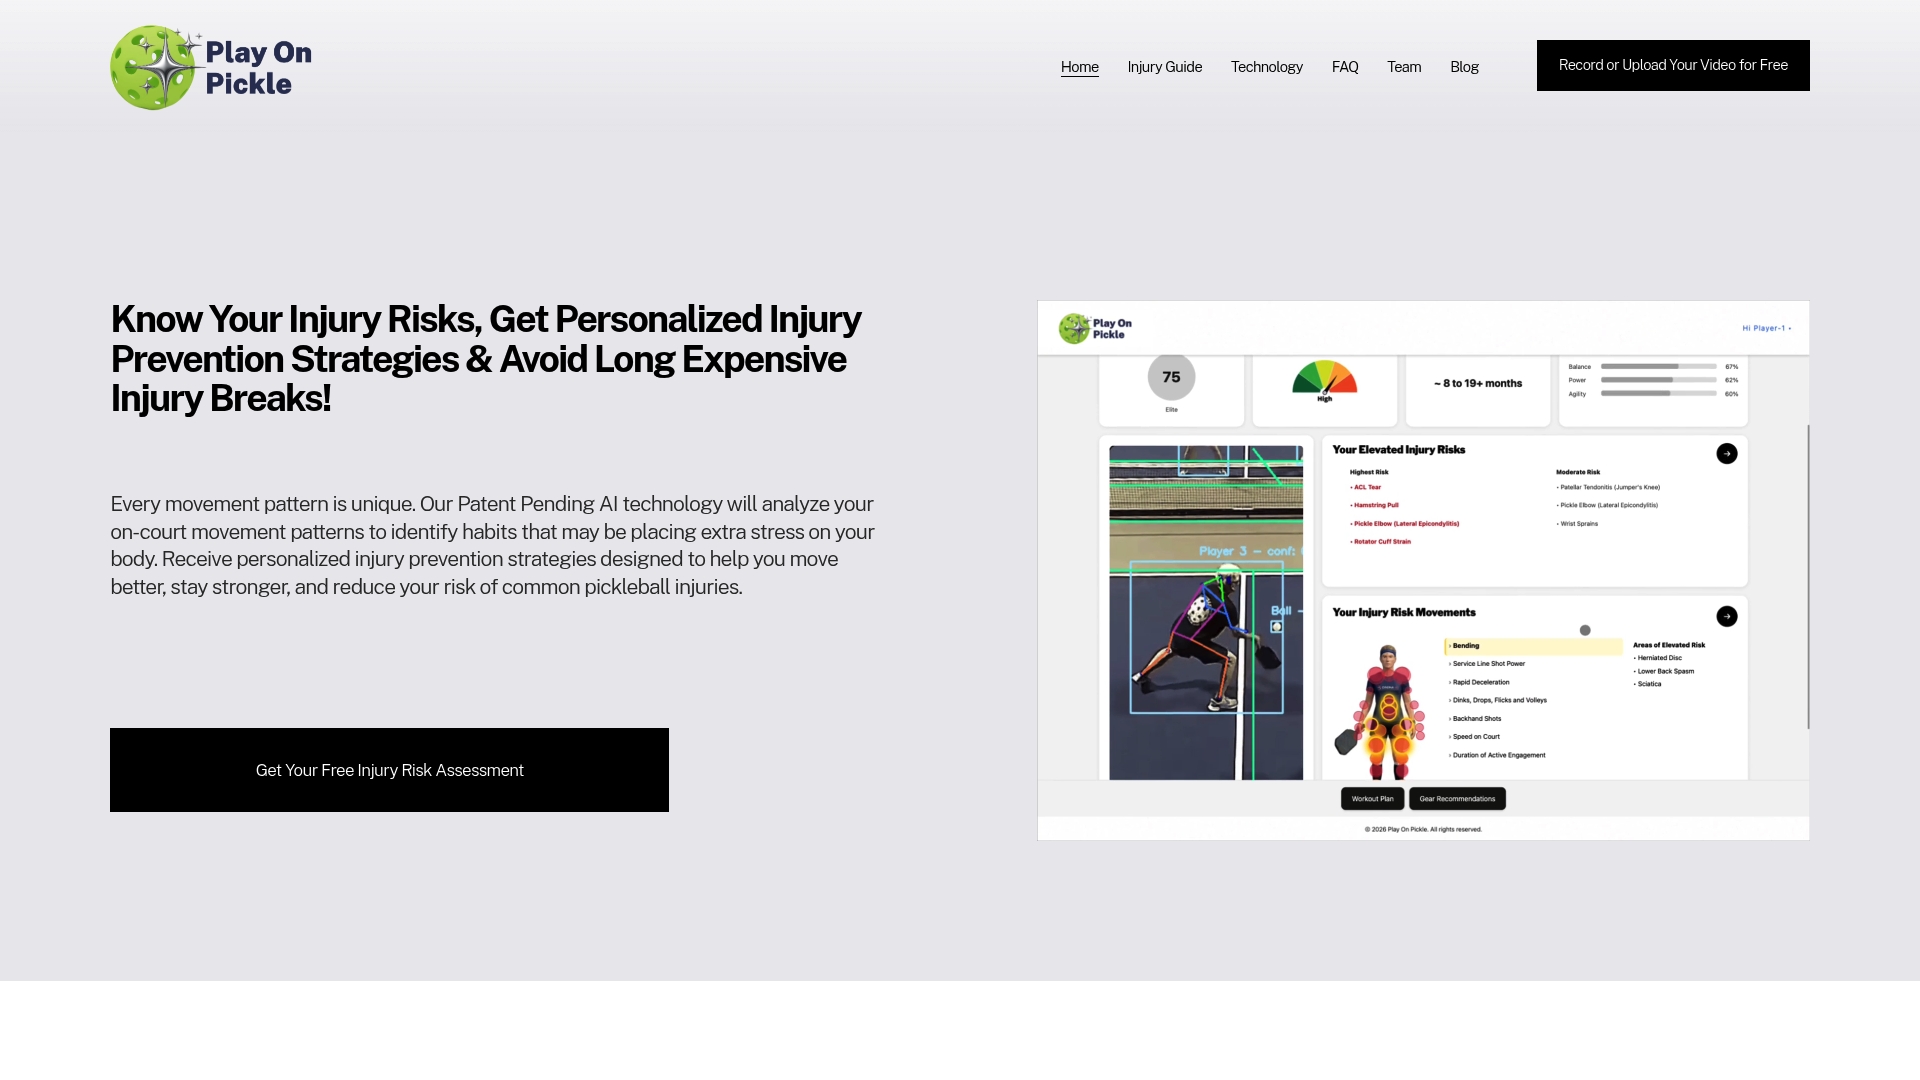
Upload a video of your serve, and Playonpickle's computer vision technology maps your movement pattern, flags biomechanical stress points, and builds a personalized set of exercises around what it actually sees in your mechanics, not a generic template. It's the same sequencing logic covered throughout this piece, applied specifically to your body instead of an average player's. New users get a free trial to test the assessment before committing to anything, and current promotions include a free tripod to make filming your serve easier. If you've been guessing at what's wrong with your mechanics, start your free assessment at Playonpickle and get an actual answer.
This article is general information, not a substitute for advice from a qualified doctor. Consult a qualified healthcare professional about your own circumstances before acting on anything here.
Sources
- Impact Accelerations Associated With Pickleball Strokes
- Exercises to prevent pickleball injury (AARP)