
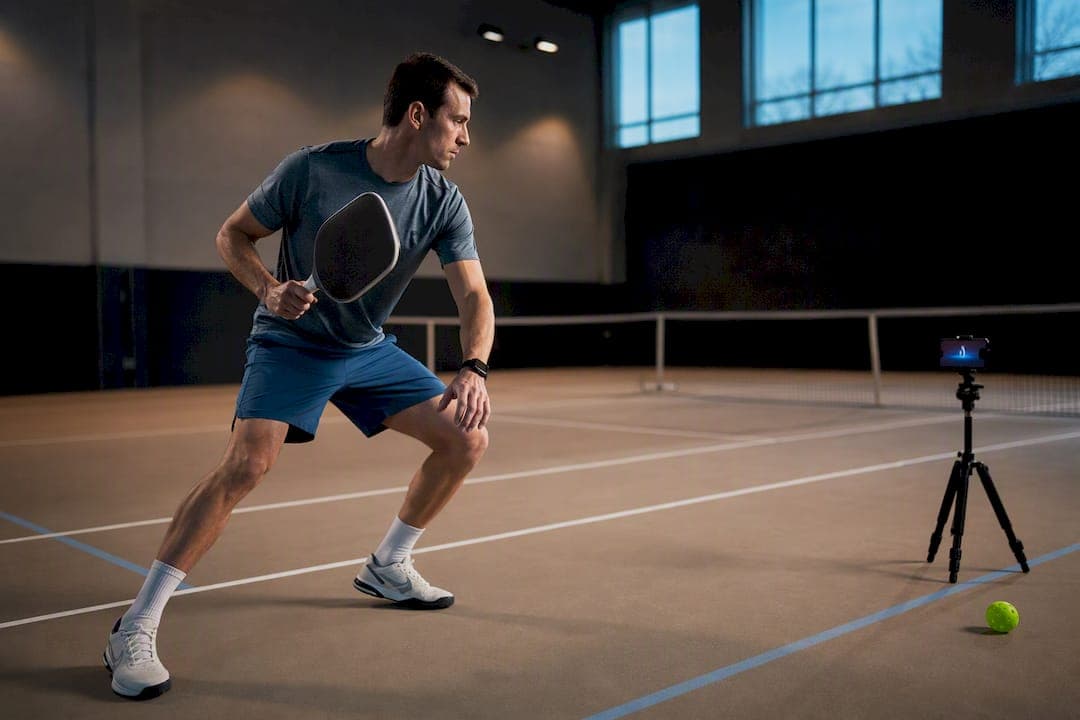
Most injuries tied to pickleball court play come from movement patterns, not the court itself: how a player lunges, decelerates, and recovers from a low backhand determines whether their knee, shoulder, or back takes the hit. The fix isn't better shoes or a different playing surface. It's a targeted movement screen followed by a few weeks of corrective exercise, something a nationwide study and tools like video analysis are built to support.
TL;DR:
- Single-leg screening identifies asymmetries and weaknesses that predict injury risk better than bilateral tests, especially in the hips and knees.
- Corrective exercises focusing on hip abduction, glute control, and balance can significantly reduce fall risk within six weeks of consistent training.
- A proper warm-up that includes mobility, ankle, and shoulder drills is crucial, along with load management strategies to prevent overuse injuries.
- Personalized video analysis, aided by AI, pinpoints individual movement stress points and guides targeted exercise plans.
- Most players overlook the importance of specific hip control work, which offers the best protection against common pickleball injuries.
Table of Contents
- What the Evidence Shows About Common Pickleball Injuries
- The Movement Screening Battery That Actually Predicts Falls
- A Six-Week Corrective Plan for Hips, Core, and Shoulders
- Warm-Up and Load Rules That Cut Injury Risk
- How Movement Analysis Personalizes Injury Prevention
- Why Most Players Skip the One Thing That Actually Works
- Get a Personalized Movement Assessment From Play On Pickle
- Sources
What the Evidence Shows About Common Pickleball Injuries
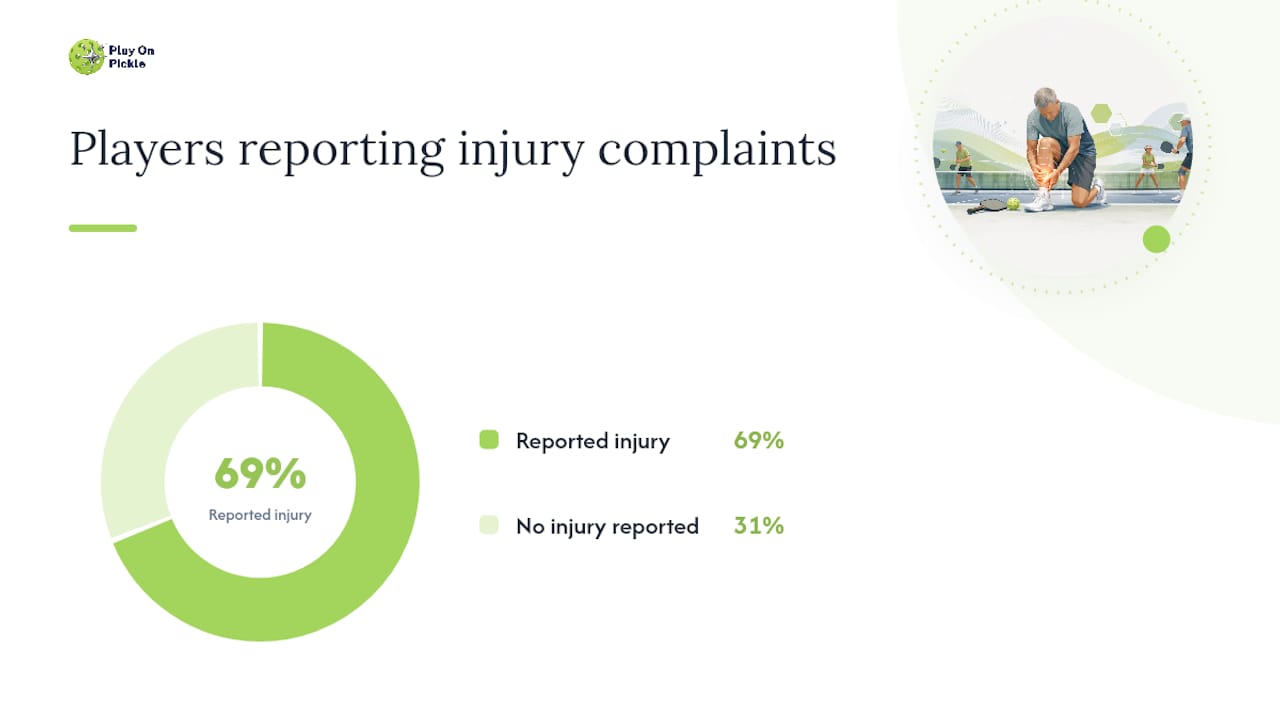
Pickleball injuries cluster in predictable places. A nationwide study of 1,758 players found that roughly 69% reported at least one injury complaint over a year, with the knee topping the list as the most frequently affected region. Shoulder strain, low back pain, and elbow tendinopathy round out the pattern, and a meaningful share of players describe pain that lingers rather than resolving in a few days.
The mechanism behind most of these injuries isn't contact. It's the sudden stop, the lunge for a drop shot, and the awkward backward shuffle to cover an overhead. Falls tied to lunging and backward movement are a leading cause of pickleball injury, and players with weaker hip abductors and slower change-of-direction speed show up more often in fall data. That's a mechanical problem, not a bad-luck problem, and it's one you can actually test for.
Experience level and play frequency both shift the risk curve:
- Newer players tend to lack the deceleration control and lateral hip strength that veteran players build up over seasons, so they fall harder and recover slower.
- Players who jump from one or two sessions a week to daily tournament prep often outrun their own conditioning before their joints catch up.
- Recreational players over 50 face a double bind: age-related strength loss plus a sport that demands quick lateral cuts and backward recovery steps.
- Competitive players who play through minor pain tend to convert a manageable strain into a recurring issue.
None of this means pickleball is unusually dangerous. It means the injuries are largely predictable, and predictable injuries are the ones you can screen for before they happen.
The Movement Screening Battery That Actually Predicts Falls
Bilateral tests, the kind where you squat or jump on both legs at once, hide the problem you're actually looking for. A weak leg can lean on a strong one during a two-legged squat and look perfectly fine, then fail the moment it's asked to work alone on a pickleball court. That's why a systematic review of biomechanical screening tools favors multifactorial, single-leg based assessments over any single bilateral metric. Single-leg screening exposes the asymmetries that predict compensatory loading on the knee and low back.
Here's a practical battery you or a coach can run in about 20 minutes:
- Single-leg balance hold (30 seconds per side, eyes open then closed): flags basic postural control deficits before you go further.
- Single-leg squat depth and control: watch for knee cave or hip drop, both signs of gluteal weakness.
- Limb Symmetry Index (LSI) calculation: compare single-leg hop distance or single-leg squat depth left versus right, and treat anything under 90% as a flag for corrective work before high-intensity drills.
- Modified T-test with a backward-shuffle leg: swap the standard T-test's final sprint for a backward shuffle to mimic the exact movement tied to falls in pickleball fall data.
- Hip abduction manual or band strength check: weak abductors correlate directly with the fall risk seen in recreational players.
Pro Tip: If you're filming any of these tests for video review, shoot from a straight-on frontal angle and a side angle at 60 frames per second minimum. That frame rate is enough to catch the exact moment a knee collapses inward during a single-leg squat, which is the detail that gets missed at normal video speed.
Kinematic video analysis works well here because it's cheap and repeatable. You don't need a motion-capture lab. You need a phone, a tripod, and consistent camera placement so week-to-week comparisons actually mean something.
A Six-Week Corrective Plan for Hips, Core, and Shoulders
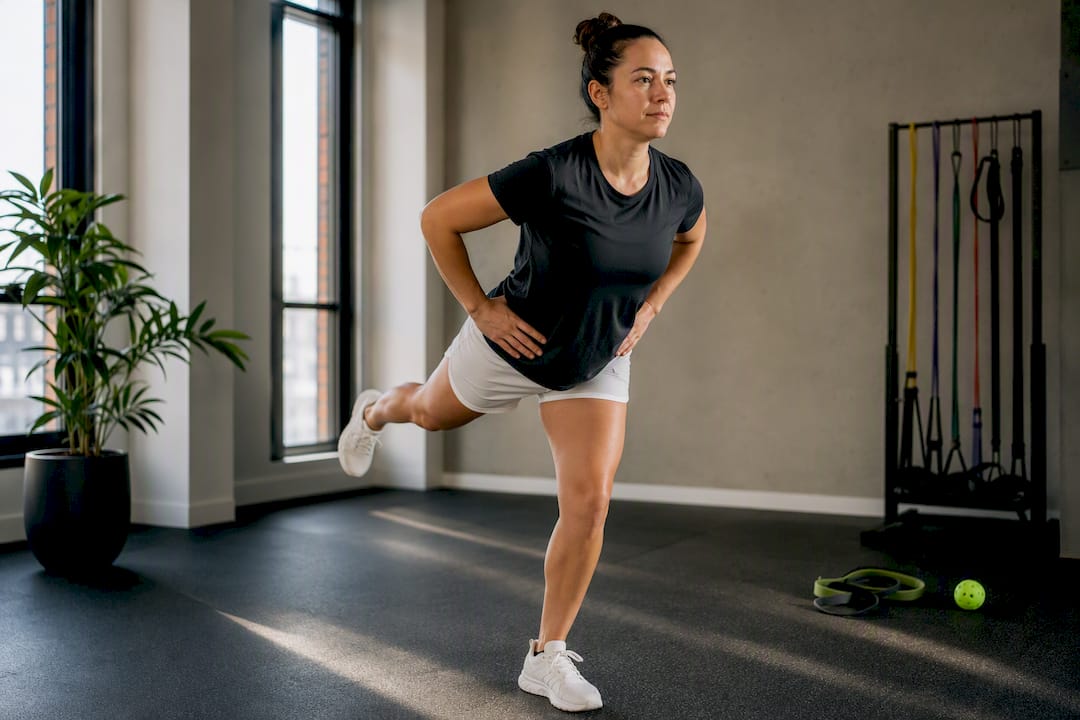
Once the screen flags a weakness, the fix is boring in the best way: small, specific loads applied consistently for a few weeks. Corrective programs built around single-leg control commonly show measurable LSI improvement within 4 to 12 weeks, and a six-week block is enough to see real movement.
Tier 1: Weeks 1 to 2 (single-leg control and hip abductor endurance)
- Side-lying hip abduction, 3 sets of 15 to 20 reps per side, four days a week. Endurance-focused sets like this outperform heavy strength work for correcting the pelvic drop pattern that stresses the knee and low back.
- Single-leg glute bridge, 3 sets of 12 per side.
- Single-leg balance reach (touching a cone in front, side, and behind), 3 sets of 8 reaches per direction.
Tier 2: Weeks 3 to 4 (strength and change-of-direction power)
- Lateral band walks, 3 sets of 10 steps each direction.
- Split squats progressing to reverse lunges, 3 sets of 10 per side.
- Modified T-test drill practice, focusing on controlled backward footwork rather than speed.
Tier 3: Weeks 5 to 6 (rotator cuff endurance and thoracic mobility)
- Band external rotation holds, 3 sets of 15 per side.
- Prone Y-T-W raises, 2 sets of 10 each position.
- Thoracic rotation stretches held for 20 to 30 seconds, done daily.
Hold off on jump-based plyometrics until Tier 2 strength work feels genuinely easy. A multi-component training structure like this one has shown reduced fall incidence and better change-of-direction scores in cohort trials of recreational players. Slot the corrective work into three short sessions a week rather than one long one; consistency beats intensity here. For more targeted hip programming, see what causes pickleball hip pain.
Warm-Up and Load Rules That Cut Injury Risk
A proper warm-up takes five to ten minutes and covers four things: light cardio to raise tissue temperature, hip mobility drills like leg swings and hip circles, ankle dorsiflexion work (calf raises into a wall stretch), and dynamic shoulder priming with arm circles and band pull-aparts. Thoracic rotation drills belong in there too, since a stiff mid-back forces the shoulder to overcompensate on serves and overheads. Clinical guidance on pickleball injury prevention backs this exact sequence.
Load management matters as much as the warm-up itself:
- Ramp up playing frequency by no more than one extra session per week.
- Avoid back-to-back high-intensity days, especially tournament weekends stacked on regular league play.
- Cap total weekly hours when you're increasing frequency, even if your body feels fine early on.
If something does get injured, follow the PEACE & LOVE framework over the older RICE approach for anything beyond the first 48 hours: Protect, Elevate, Avoid anti-inflammatories, Compress, Educate yourself early, then Load, Optimism, Vascularization, and Exercise as healing progresses. Swelling that doesn't improve after three days, or joint instability during weight-bearing, both warrant a medical review rather than a home fix. Check what to do about an ankle sprain for a concrete example of this in action.
Pro Tip: Resume full-speed play only after you can complete the modified T-test at your pre-injury time without pain. Rushing that benchmark is how a two-week ankle sprain becomes a six-month recurring issue.
How Movement Analysis Personalizes Injury Prevention
A generic list of hip exercises helps everyone a little. That's the gap individualized movement analysis closes, and it's why the systematic review on screening tools pushes multifactorial assessment over guesswork.
Full lab motion-capture gives the most precise data, but almost no recreational player has access to one. Standardized 2D video, shot with consistent angles and reviewed frame by frame, closes most of that gap for practical purposes.
A patented computer-vision technology can analyze video you upload, flagging stress points in your movement and generating a personalized set of exercises based on what it finds. Instead of guessing which tier of the corrective plan applies to you, the assessment tells you:
- Which side shows asymmetry and by roughly how much.
- Which movement patterns during lunges or backward recovery load a joint unevenly.
- Which corrective exercises match your specific stress points, not a generic list.
You can read more on how the AI training approach works and how to capture usable video for accurate results.
Why Most Players Skip the One Thing That Actually Works
Every recreational player I've seen written about has heard "warm up more" and "stretch your hips." Almost none of them have been told which hip, by how much, or what to do about it specifically. That's the actual gap. Generic advice doesn't fail because it's wrong. It fails because it's not personalized enough to change behavior.
Consistent, modest work on hip control and single-leg balance prevents far more of these injuries than any piece of gear ever will. Reassess every few weeks, progress conservatively, and treat a plateaued LSI score as useful information, not a failure. Coaches who build a five-minute screen into preseason and midseason training will catch problems their players can't feel yet.
— Drona
Get a Personalized Movement Assessment From Play On Pickle
You don't need a sports medicine clinic to find out which hip is weaker or how your backward recovery step is loading your knee. A service can turn a video you record on your own court into a personalized breakdown of your movement stress points, paired with an exercise plan built around what your body actually needs instead of a generic list.
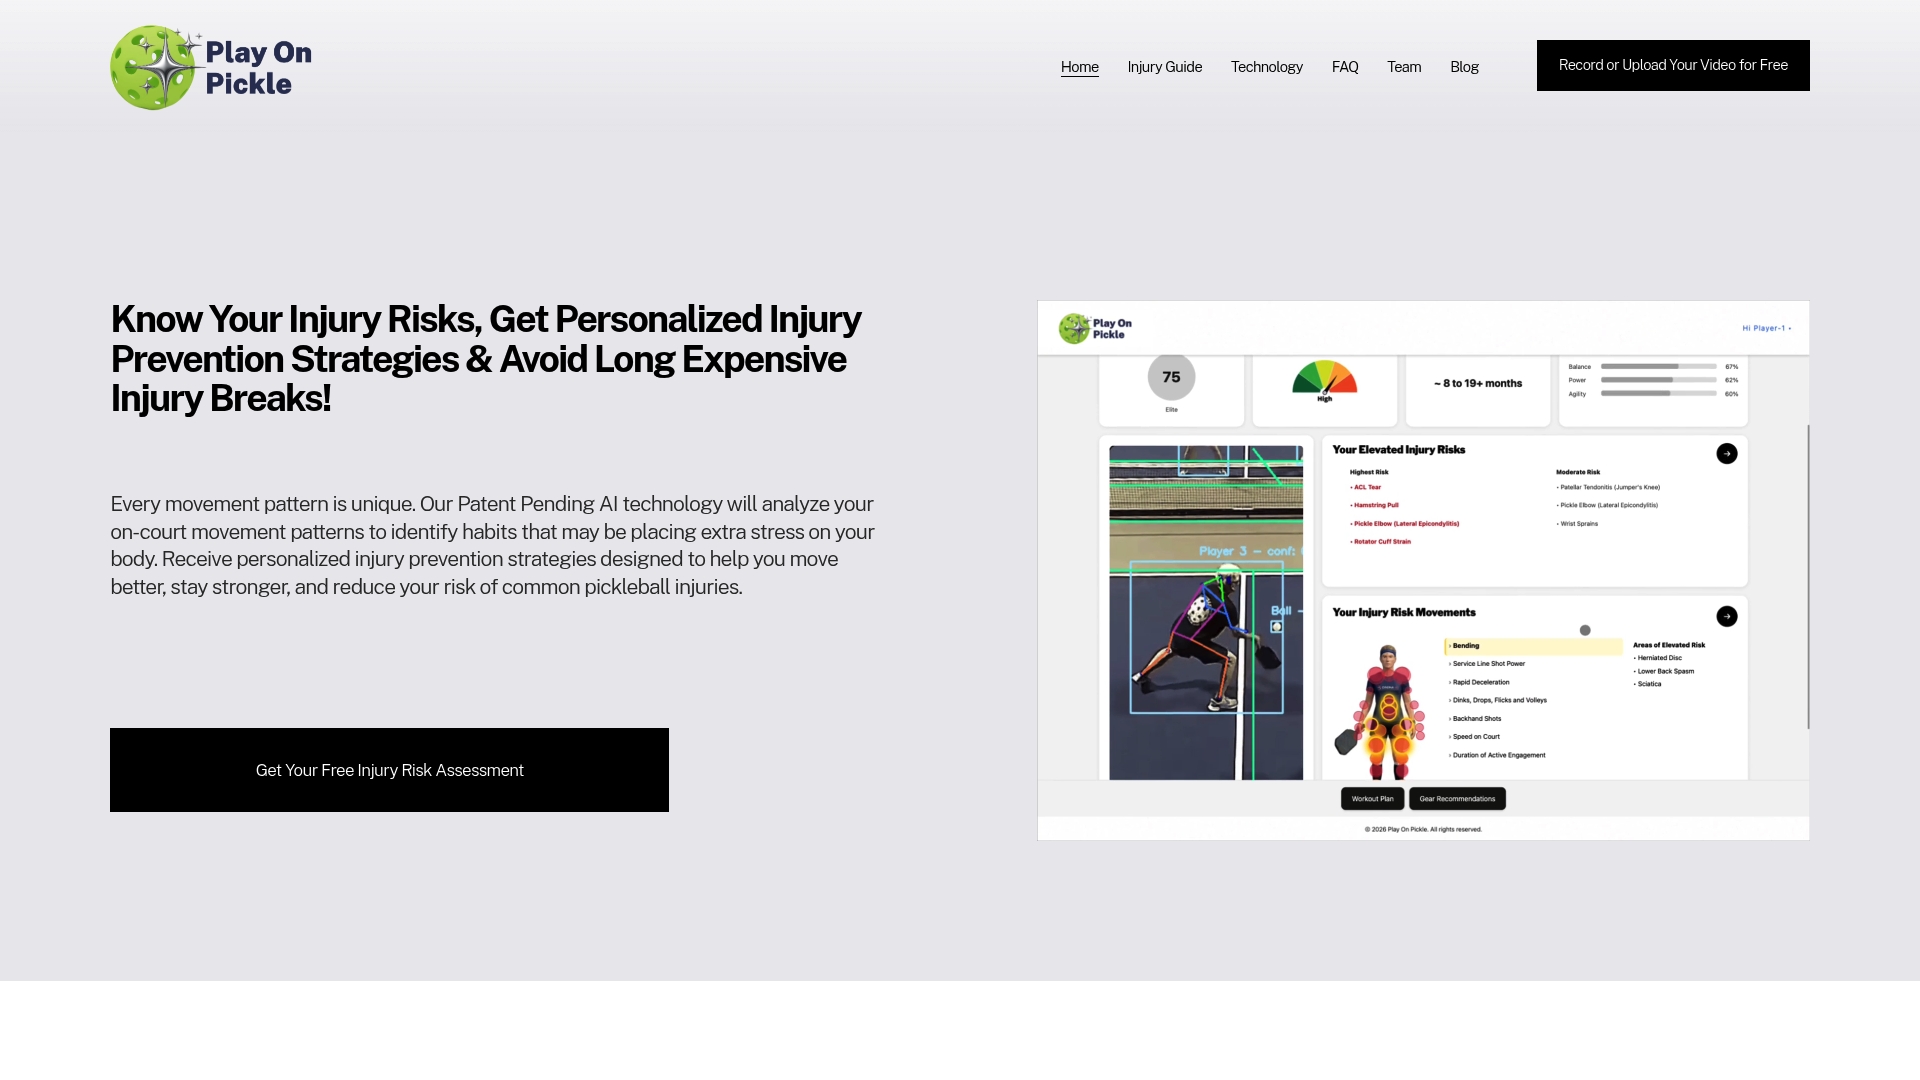
The process is simple: upload a short clip of your play, get an AI-driven analysis of your movement patterns, and receive exercise and equipment recommendations tailored to what the screen finds. A free trial and promotional offers make it easy to see your own results before committing to anything. If the screening battery and corrective plan above made sense to you, the next step is running it on your own movement. Start your free trial with this service and find out exactly what your body needs before your next tournament.
Sources
- Understanding Injury Patterns and Predictors in Pickleball Players: A Nationwide Study of 1,758 Participants
- Hip Strength, Change of Direction, and Falls in Recreational Pickleball Players
- Systematic review: biomechanical screening tools for injury risk and return-to-sport evaluation